Abap Git 연결 방법
Abap Git 연결 방법
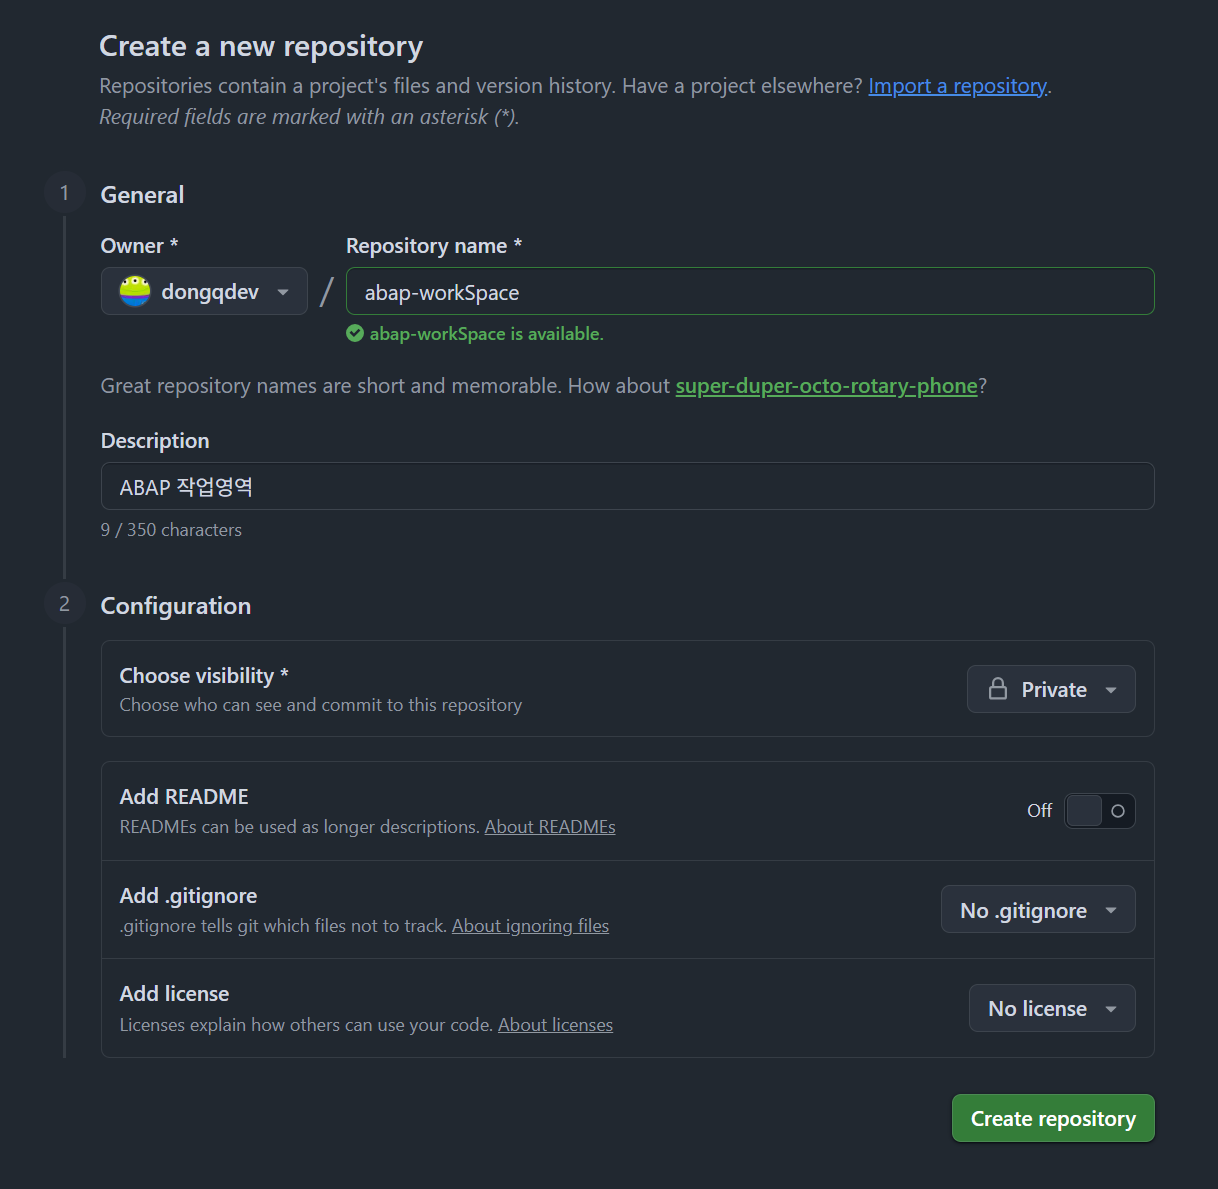
1. Github Repository 생성
2. Repository 정보 입력
- Repository Name/Description : 임의 입력
- Choose Visibility : Private
3. vsCode Git 연결(git 설치 必)
- vscode 실행
- ctrl + shift + p > git clone > git repository 주소 입력
- 연결된 repository에 파일(.abapgit.xml) 생성
(최상위 루트부터 소스코드를 관리하겠다는 의미)- E : EN, 3 : KO
1
2
3
4
5
6
7
8
9
10
<?xml version="1.0" encoding="utf-8"?>
<asx:abap xmlns:asx="http://www.sap.com/abapxml" version="1.0">
 <asx:values>
  <DATA>
   <MASTER_LANGUAGE>E</MASTER_LANGUAGE>
   <STARTING_FOLDER>/</STARTING_FOLDER>
   <FOLDER_LOGIC>FULL</FOLDER_LOGIC>
  </DATA>
 </asx:values>
</asx:abap>
4. Eclipse Git 설치 및 연결
- ABAP GIT 설치
- Help > Install New Software… 클릭 후 아래 주소 입력
1
2
# abapGit
https://eclipse.abapgit.org/updatesite/
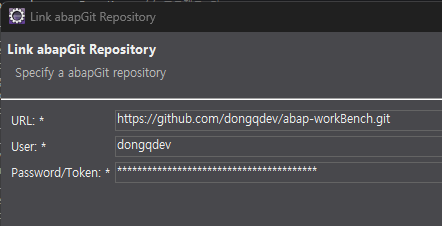
5. Abap Git 연결
- window > show view > abapGit repositories >
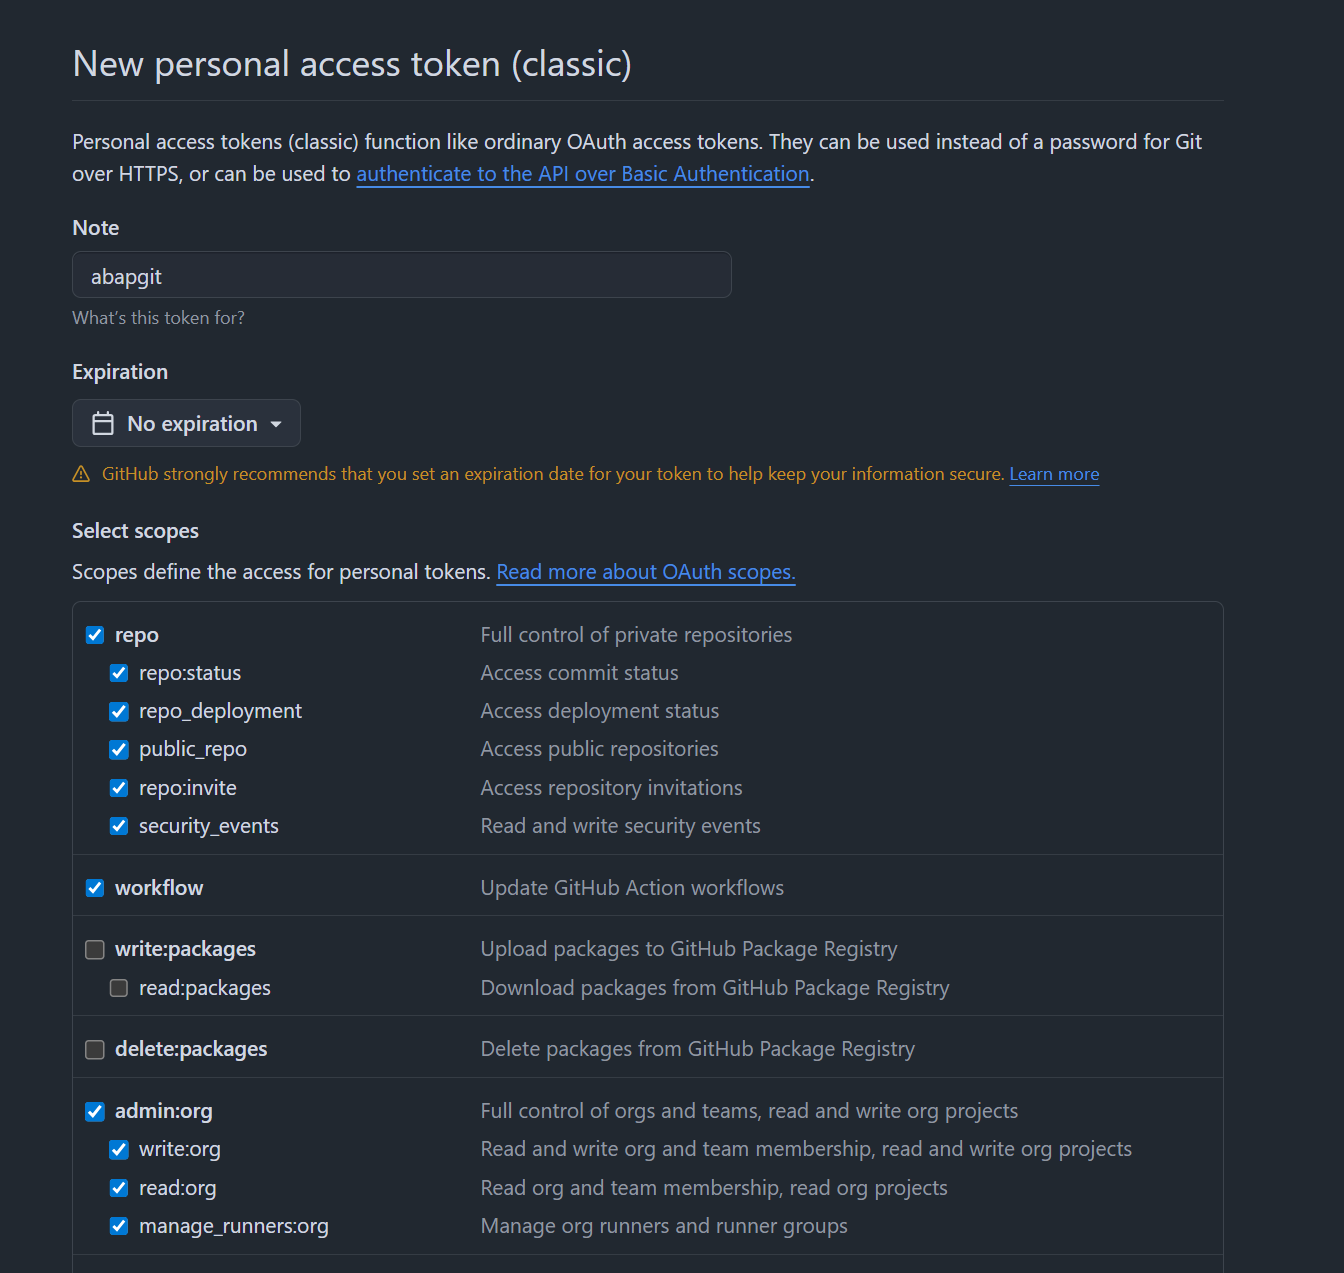
- Token 생성 후 입력
💡 GitHub 웹사이트 우측 상단 프로필 클릭 ->
Settings이동
- 좌측 최하단의
Developer settings클릭Personal access tokens->Tokens (classic)선택Generate new token->Generate new token (classic)클릭- Note에 알아보기 쉽게
abapGit-token등으로 적고, Expiration(만료일)을 설정합니다.- Scopes 설정에서 맨 위에 있는
repo항목에 반드시 체크합니다. (Private 레포지토리를 읽고 쓰기 위한 필수 권한입니다.)- 맨 아래
Generate token버튼을 누르면 토큰 값이 나옵니다.
6. Initial Commit
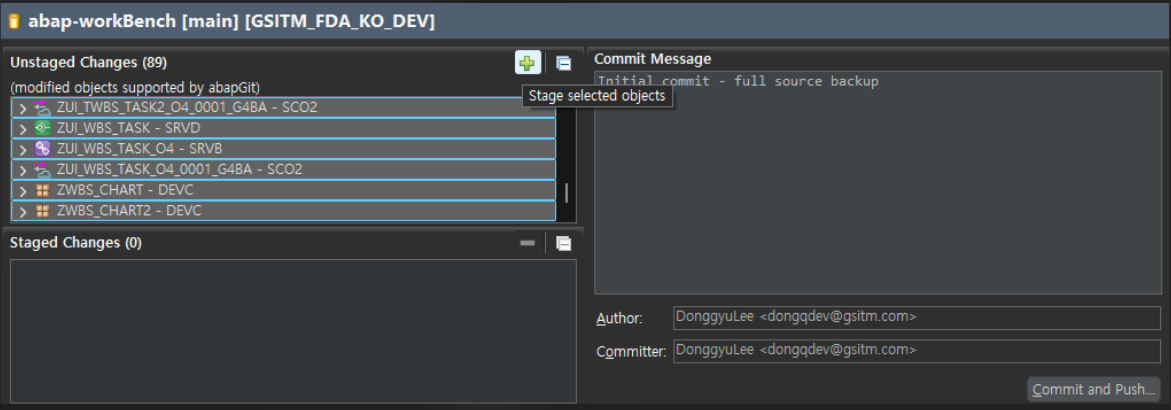
- Main 브랜치 확인 후, 마우스 우클릭
- Stage and Push 클릭

- Stage selected objects 클릭
- Commit Message 작성
- Commit and Push
이 기사는 저작권자의 CC BY 4.0 라이센스를 따릅니다.